How to clean your camera sensor
How to Clean Your Camera Sensor Yourself, Step by Step
Cleaning your camera sensor sounds terrifying the first time you hear about it. It feels like one wrong move could destroy your camera and ruin your day.
The reality is simpler. Sensors get dirty. If you shoot in dusty places, gyms, beaches, or construction sites, it will happen. When it does, your images start to look soft, blotchy, or just plain bad.
You can pay a shop to clean it, or you can learn how to do it yourself. This guide walks through the process step by step, using the same tools and approach from the video.
Before we start, one important note. If you are not comfortable doing this, do not do it. Sensor cleaning can damage your camera if done incorrectly. Proceed only if you are confident and careful.
The Tools You Need
You do not need much, but what you use matters.
Sensor cleaning kit
https://amzn.to/3xuID1D
This includes sterile sensor swabs sized for your sensor and cleaning fluid designed specifically for camera sensors.
Hand air blower
https://amzn.to/3M4g67c
This is used to remove loose dust before anything touches the sensor.
You may also want clean hands or gloves and a fully charged battery.
Step 1, Make Sure Your Battery Is Charged
This is critical.
If your camera shuts off while the sensor is exposed, the shutter can close unexpectedly. That is how things break.
Charge your battery fully before you start.
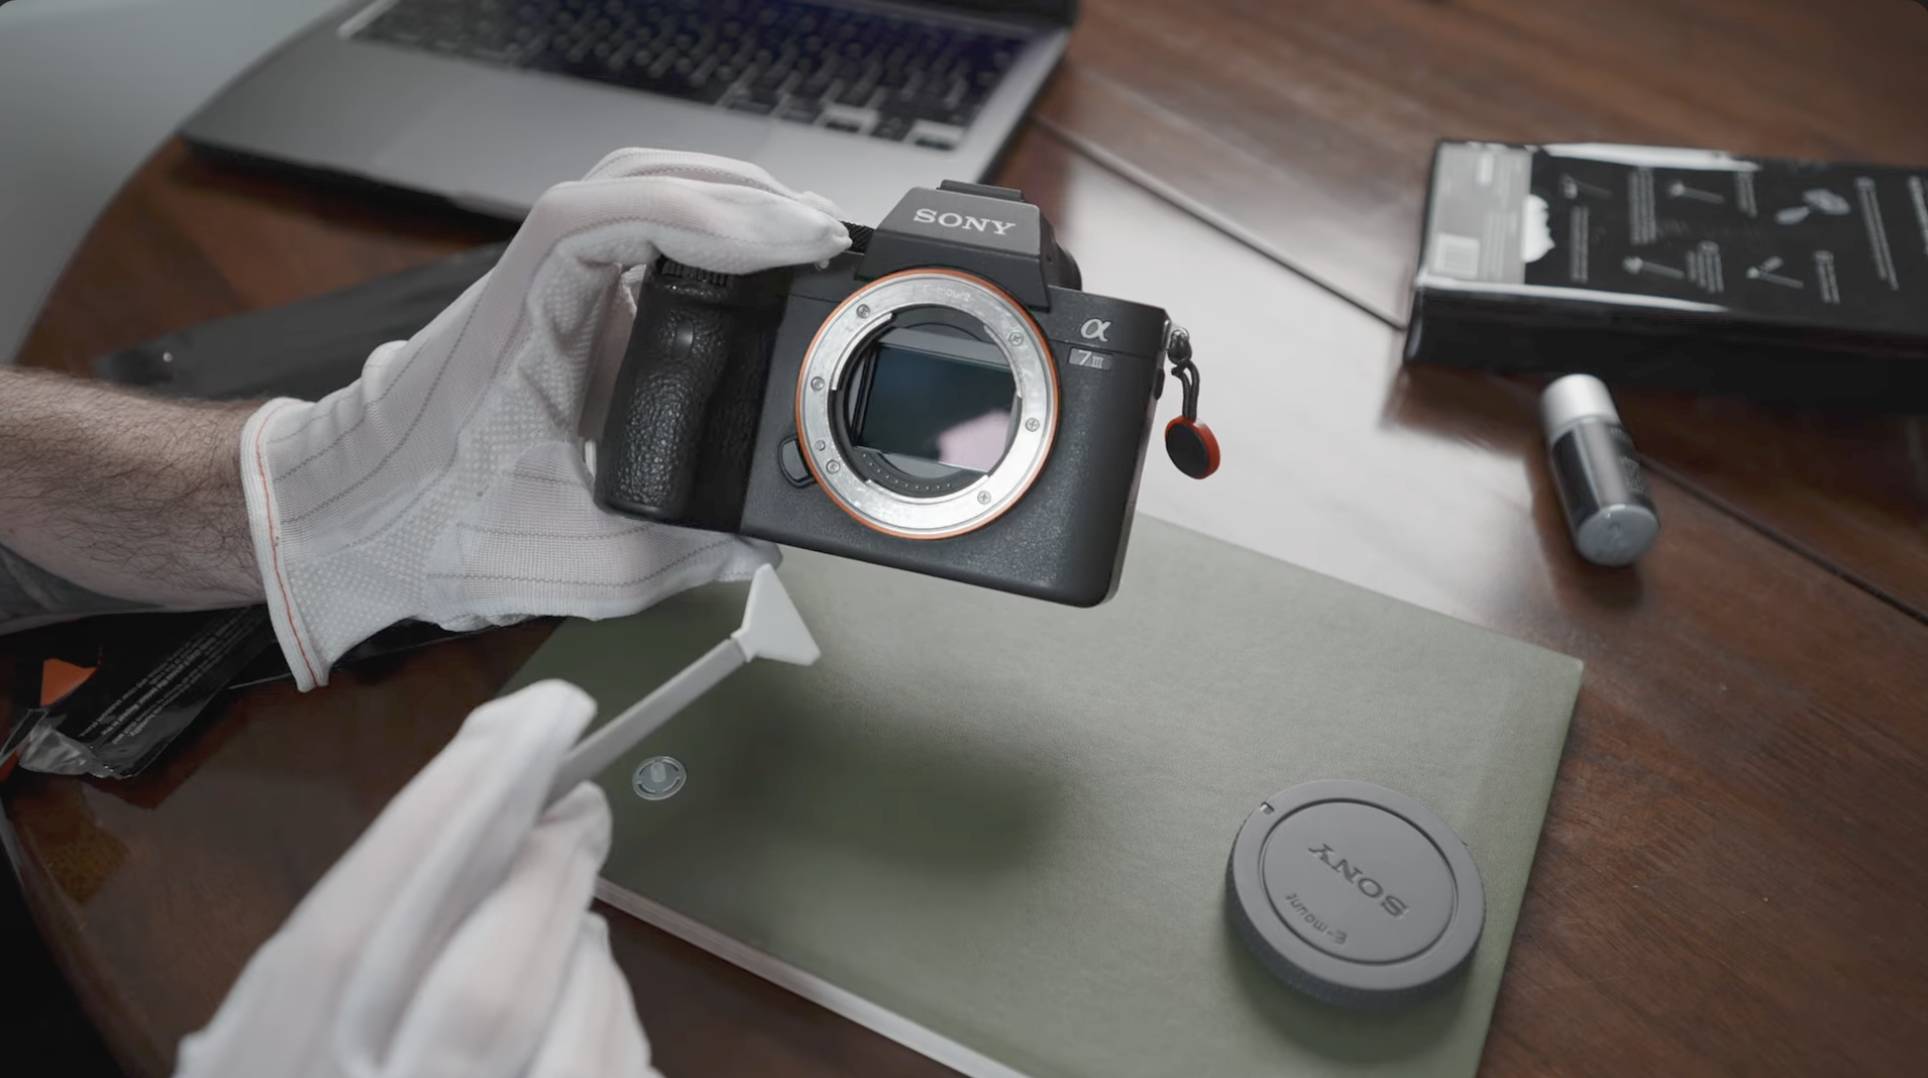
Step 2, Remove the Lens and Use the Blower
Remove your lens and hold the camera with the mount facing downward. Gravity is your friend here.
Using the blower, gently blow air upward into the camera body. Do not touch the sensor. Do not use canned air. Only use a hand blower.
This removes loose dust and debris that does not need wet cleaning.
Step 3, Run the Camera’s Built-In Sensor Cleaning
Most modern cameras have an automatic sensor cleaning mode.
Turn the camera on and navigate to the sensor cleaning option in the menu. Activate it and let the camera do its thing. The sensor will vibrate to shake off remaining dust.
For many people, this step alone solves the problem.
If your sensor still has visible spots, move on.
Step 4, Prepare for a Wet Clean
A wet clean is for stubborn dirt that will not come off with air or vibration.
Open your sensor cleaning kit. Each swab should be sealed individually. Use one swab per cleaning attempt. Never reuse a swab.
Take the cleaning fluid and place one to two small drops onto the tip of the swab. Do not soak it. Less is more.
Step 5, Swipe the Sensor Carefully
With the camera still facing downward, gently place the swab on one edge of the sensor.
Using light, even pressure, swipe across the sensor in one smooth motion. Do not scrub. Do not stop halfway.
Flip the swab over and swipe back in the opposite direction using the clean side.
That is it.
Do not keep going over the sensor. If it does not come clean in one pass, stop and reassess.
Step 6, Inspect and Decide If You Are Done
Turn the camera off and reattach the lens. Take a test photo of a bright, blank surface at a narrow aperture, something like f/16.
If the spots are gone, you are done.
If there is still visible dirt, you can repeat the process once more with a fresh swab. If it still is not clean, stop. At that point, a professional cleaning is the safer option.
What Not to Do
- Do not use household cleaning products
- Do not use your fingers or cloths
- Do not reuse swabs
- Do not rush
- Do not do this with a low battery
Most sensor damage comes from impatience, not the process itself.
Final Thoughts
Cleaning your camera sensor yourself is not a rite of passage, but it is a useful skill.
With the right tools, a calm approach, and a bit of confidence, it is very doable. You save time, you save money, and you stay shooting instead of waiting on a repair shop.
Just remember, be gentle, be deliberate, and stop before you push your luck.