How to use a teleprompter
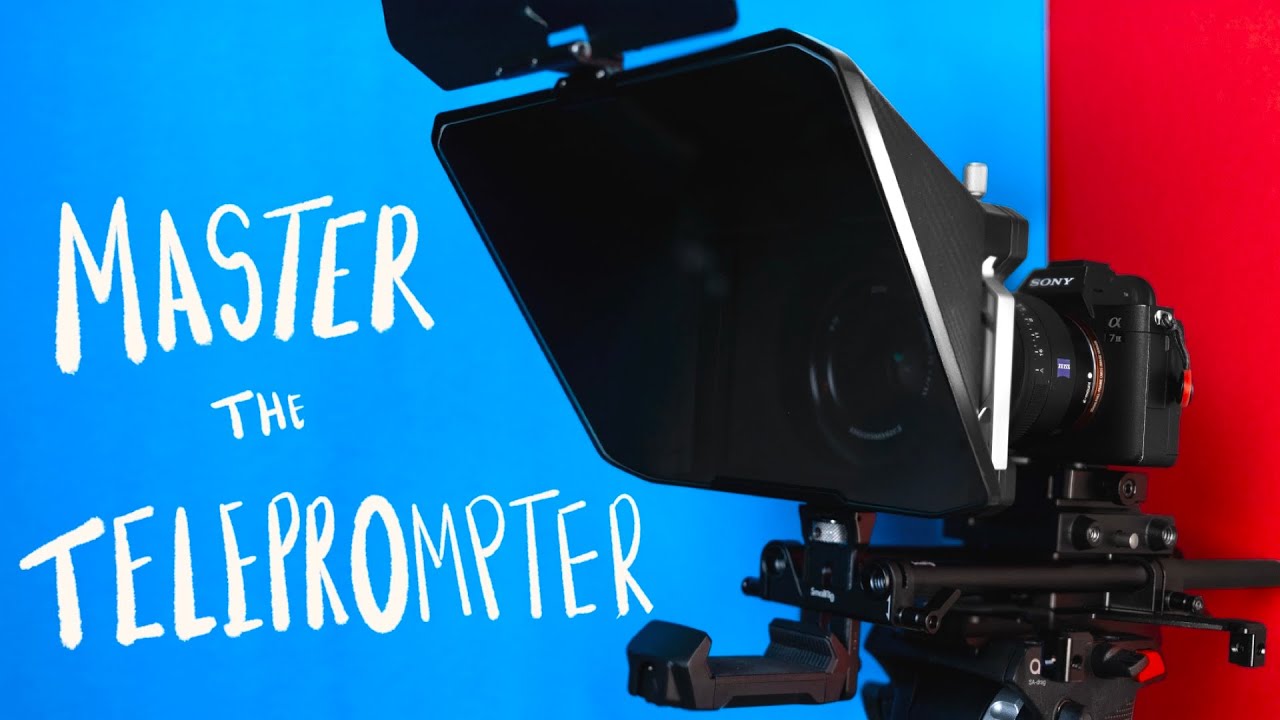
How to Use a Teleprompter Without Sounding Stiff or Fake
Teleprompters get a bad reputation. People assume they make you sound robotic, stiff, or disconnected from the audience. The truth is, most of those problems come down to setup and script choices, not the teleprompter itself.
Used properly, a teleprompter can make you more confident, more consistent, and easier to watch. Used poorly, it does the opposite.
This guide walks through how to choose a teleprompter, set it up, and actually use it in a way that feels natural on camera.
Step 1, Choose a Teleprompter That Actually Fits Your Camera
Before buying anything, you need to know how the teleprompter attaches to your camera.
This matters a lot if you are using smaller, vlog-style cameras. Some teleprompters require lens threads. Others need rods, cages, or extra mounting hardware. There is nothing worse than buying a tool and then realizing you need several more pieces just to make it usable.
Check whether the teleprompter mounts directly to the lens, uses rods, or needs a cage. Make sure your camera can support that setup before you buy.
Step 2, Pay Attention to Mirror Size
The size of the mirror section affects more than you think.
If the mirror is small, you may need to place the teleprompter very close to your face just to read it. That can force you into using specific focal lengths for framing, which limits your creative choices.
Mirror size also affects how wide you can shoot. Go too wide, and the edges of the teleprompter can creep into frame. If you often shoot around 24mm to 35mm, this is something you need to test.
Bigger mirrors give you more flexibility, but they also require larger reading devices.
Step 3, Decide What Device You Will Read From
Teleprompters are just mirrors. The device you use to display text determines how readable the script is.
Large mirror setups often need a tablet, sometimes 11 inches or larger, to keep text readable from a comfortable distance. Smaller teleprompters are designed for phones, and some higher-end models have built-in screens.
There is no right answer here. Just know that the device size directly affects comfort, framing, and readability.
Step 4, Use the Right Teleprompter App
This is where most of the magic happens.
The hardware is simple. The software is what makes a teleprompter feel natural or unbearable.
Look for an app that lets you adjust font size, line spacing, and orientation. Even more important is how the text scrolls.
Fixed scroll speeds based on words per minute tend to cause problems. You either rush to keep up or slow down so much that you stop sounding like yourself.
Voice-tracking scrolling is the best option for most people. The app listens to you speak and follows along at your pace. This removes the need for foot pedals, scroll wheels, or an extra person controlling the text.
It is not perfect. Loud environments or very quiet speakers can cause issues, but in controlled settings it makes a massive difference.
Step 5, Control the Audio Input if Needed
If voice tracking struggles, there is a simple fix.
Use a wireless earbud or mic connected directly to the device running the teleprompter app. This helps isolate your voice and avoids problems with background noise or soft delivery.
It is a small tweak that can prevent the script from getting stuck mid-sentence.
Step 6, Write Your Own Scripts
This is non-negotiable.
Teleprompters are designed to help you speak naturally. That only works if the words sound like something you would actually say.
Write your own scripts. Speak them out loud while writing. Pay attention to flow, pacing, and awkward phrases. Watch out for heavy sibilance or sentences that feel fine on the page but awful when spoken.
Even if you use AI or someone else for a first draft, you need to rewrite it in your own voice. If you are not comfortable with the words, it will show on camera.
Step 7, Practice Before You Record
Do not treat the first read as the real take.
Run through the script at least once before recording. This helps you find pacing issues, awkward sections, and places where you naturally want to pause or emphasize a point.
Practice also helps the teleprompter software learn your cadence, especially when using voice tracking.
Step 8, Know When to Use a Teleprompter and When Not To
A teleprompter is a tool, not a requirement.
It works well for dense information, sponsored reads, client videos, and situations where clarity matters more than spontaneity. It is also great for people who are not comfortable on camera.
For more conversational or stream-of-consciousness content, a teleprompter can limit energy and improvisation. It tends to create a cleaner, more directional delivery, which is not always what you want.
Be intentional. Use it when it helps. Put it away when it does not.
Final Thoughts
A teleprompter does not make you sound fake. Poor setup and poor scripts do.
Choose hardware that fits your camera. Use software that follows your voice. Write scripts that sound like you. Practice before you hit record.
Do those things, and a teleprompter becomes one of the fastest ways to look polished on camera without losing your personality.